As the owner of a video production company, I take a lot of pride in the videos my team and I make for our clients.
Oftentimes, these videos feature cinematic storyboarded shots planned out before we ever arrive on ‘set’, custom soundtracks, and animated graphics all used to help tell the story. These videos often have large budgets attached to them. The truth is, however, not everybody can afford to bring out a professional videographer if they’re working with a smaller team or a smaller budget. Maybe you just need a simple Facebook live-stream, or a brief message from your CEO to a camera. I want to talk about ways to make videos better without breaking the bank.
Until just a few years ago the barrier to entry was massive. Cameras that cost tens of thousands of dollars, expensive editing software and computers, it was all prohibitively pricey.
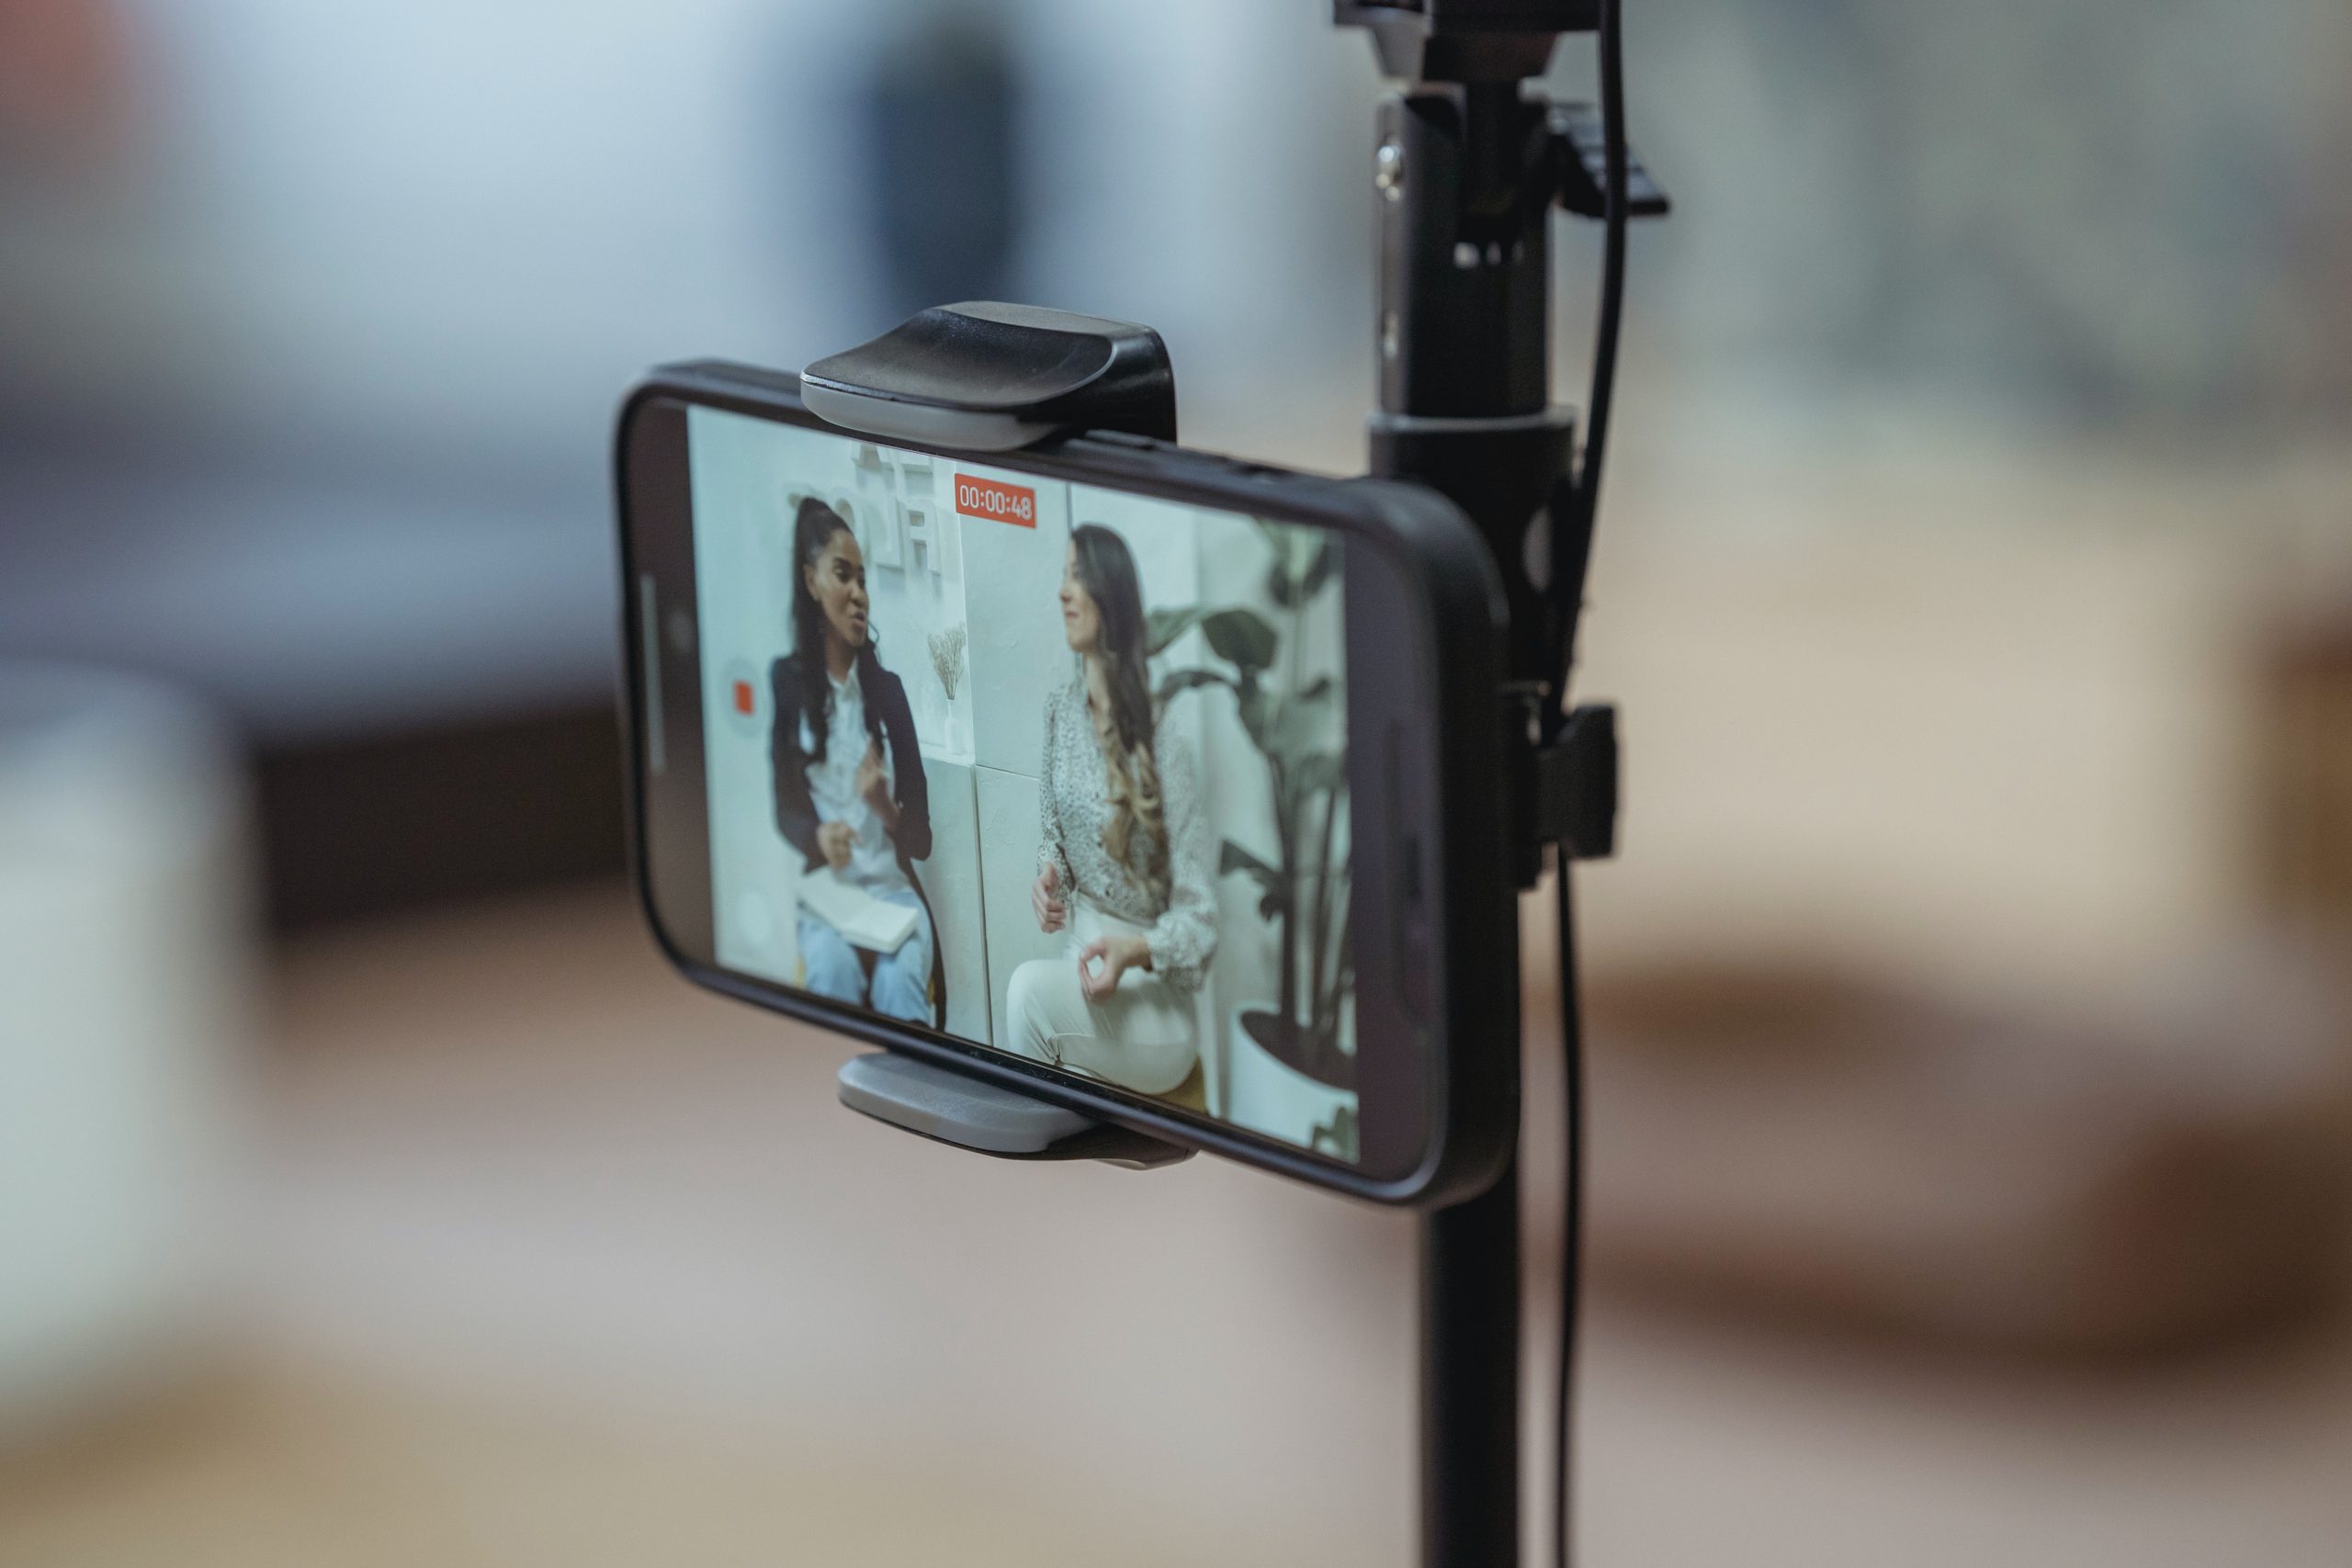
But recently this has all changed. Technology has improved and prices have dropped. These days almost everyone already has an amazing camera capable of filming in quality unheard of just a few years ago. I am, of course, referring to your smartphone.

Smartphones can have incredible cameras on them—some of them are even able to record 4K images at 60 frames per second. It is bewildering how quickly cameras have advanced on your common smartphone! But a decent camera does not promise a decent end result: let’s go through some tips to help you get the best possible end product.
Common Mistakes
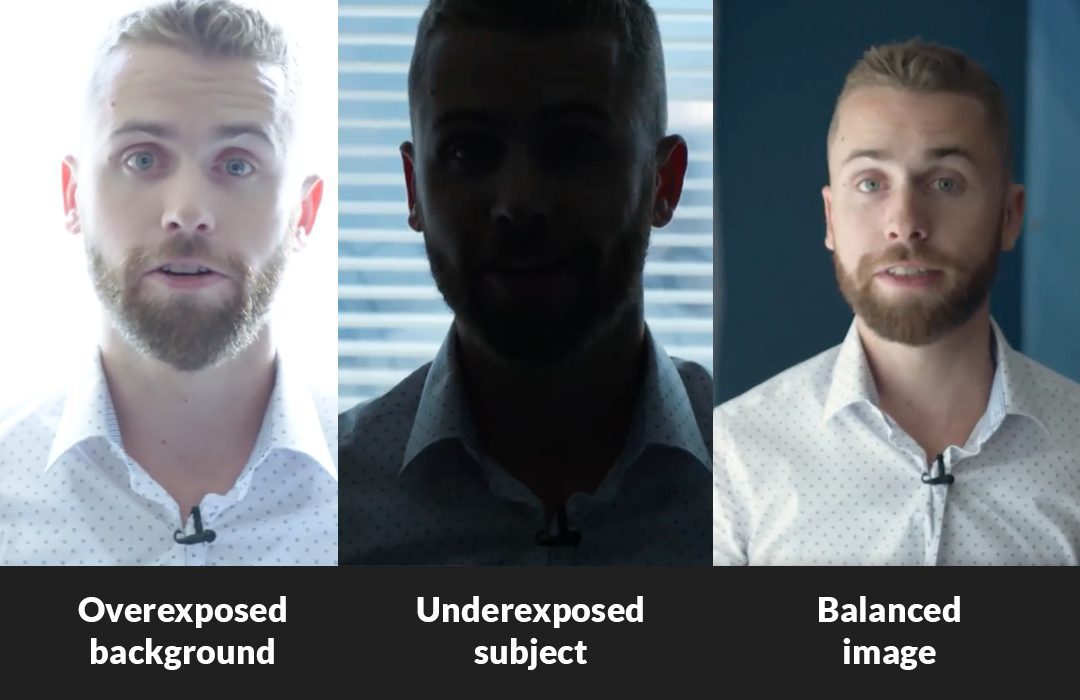
A common mistake people make when they start shooting is understandable: placing the subject in front of a window. I get it—there’s a nice view behind the window, why not put the subject in the most attractive space available to you? The truth is, you’ll end up with a lighting problem: the room is always going to be darker than the natural light outside. What happens? One of two things: (a) your background looks great, but your subject is dark and undefined, or (b), your subject looks fine, but your background is completely overblown. Either way, you’re losing critical visual information in your shot. This is a common mistake.

You need to flip your shot around and use the natural lighting from the window to cast light on to your subject. Make sure your brightest light source (your “key light”) is shining on the subject’s face so that they are properly exposed. Your background is not as critical as your subject—make sure your subject is visible.

Creating Depth With Your Background
Now that your subject looks good, it’s time to focus on your background.
Another common mistake: putting your subject directly against a wall. Without any space between your background and your subject, your shot will look flat and, honestly, boring. There needs to be room between your subject and your background to get a good shot.
Oftentimes, I’ll place my interview subject four feet in front of their own desk—using the desk as a soft-focus background. Now that there’s a little depth there, it’s going to look better. Lack of depth is a rookie mistake (a mistake I made all too often in my early days) that you don’t need to make. Think your shot through before you hit the record button, and you’ll see a world of difference in your results.

Capturing Clean Audio
Audio really is 50% of the experience of watching a video. Clear audio allows your audience to retain the message and understand the points you’re trying to make, but audio that is echo-y, noisy, or unclear actually distracts from the message.
Anyone who’s ever worked with me knows that when I arrive at a shoot, I have a lot of gear with me. In fact, I bring a whole drawer of gear dedicated just to audio equipment. This stuff isn’t free, but it’s worth it for me to get the audio I need.
But, you can actually capture amazing audio using equipment you already own. Yes, we’re back to the smartphone! While you can record audio at the same time as you record video on your phone, this isn’t what I suggest you do. When using your phone’s built-in microphone, you run a huge risk of the audio sounding distant, echoy or noisy. But there’s a simple trick that won’t hurt your wallet if you want to get better audio.
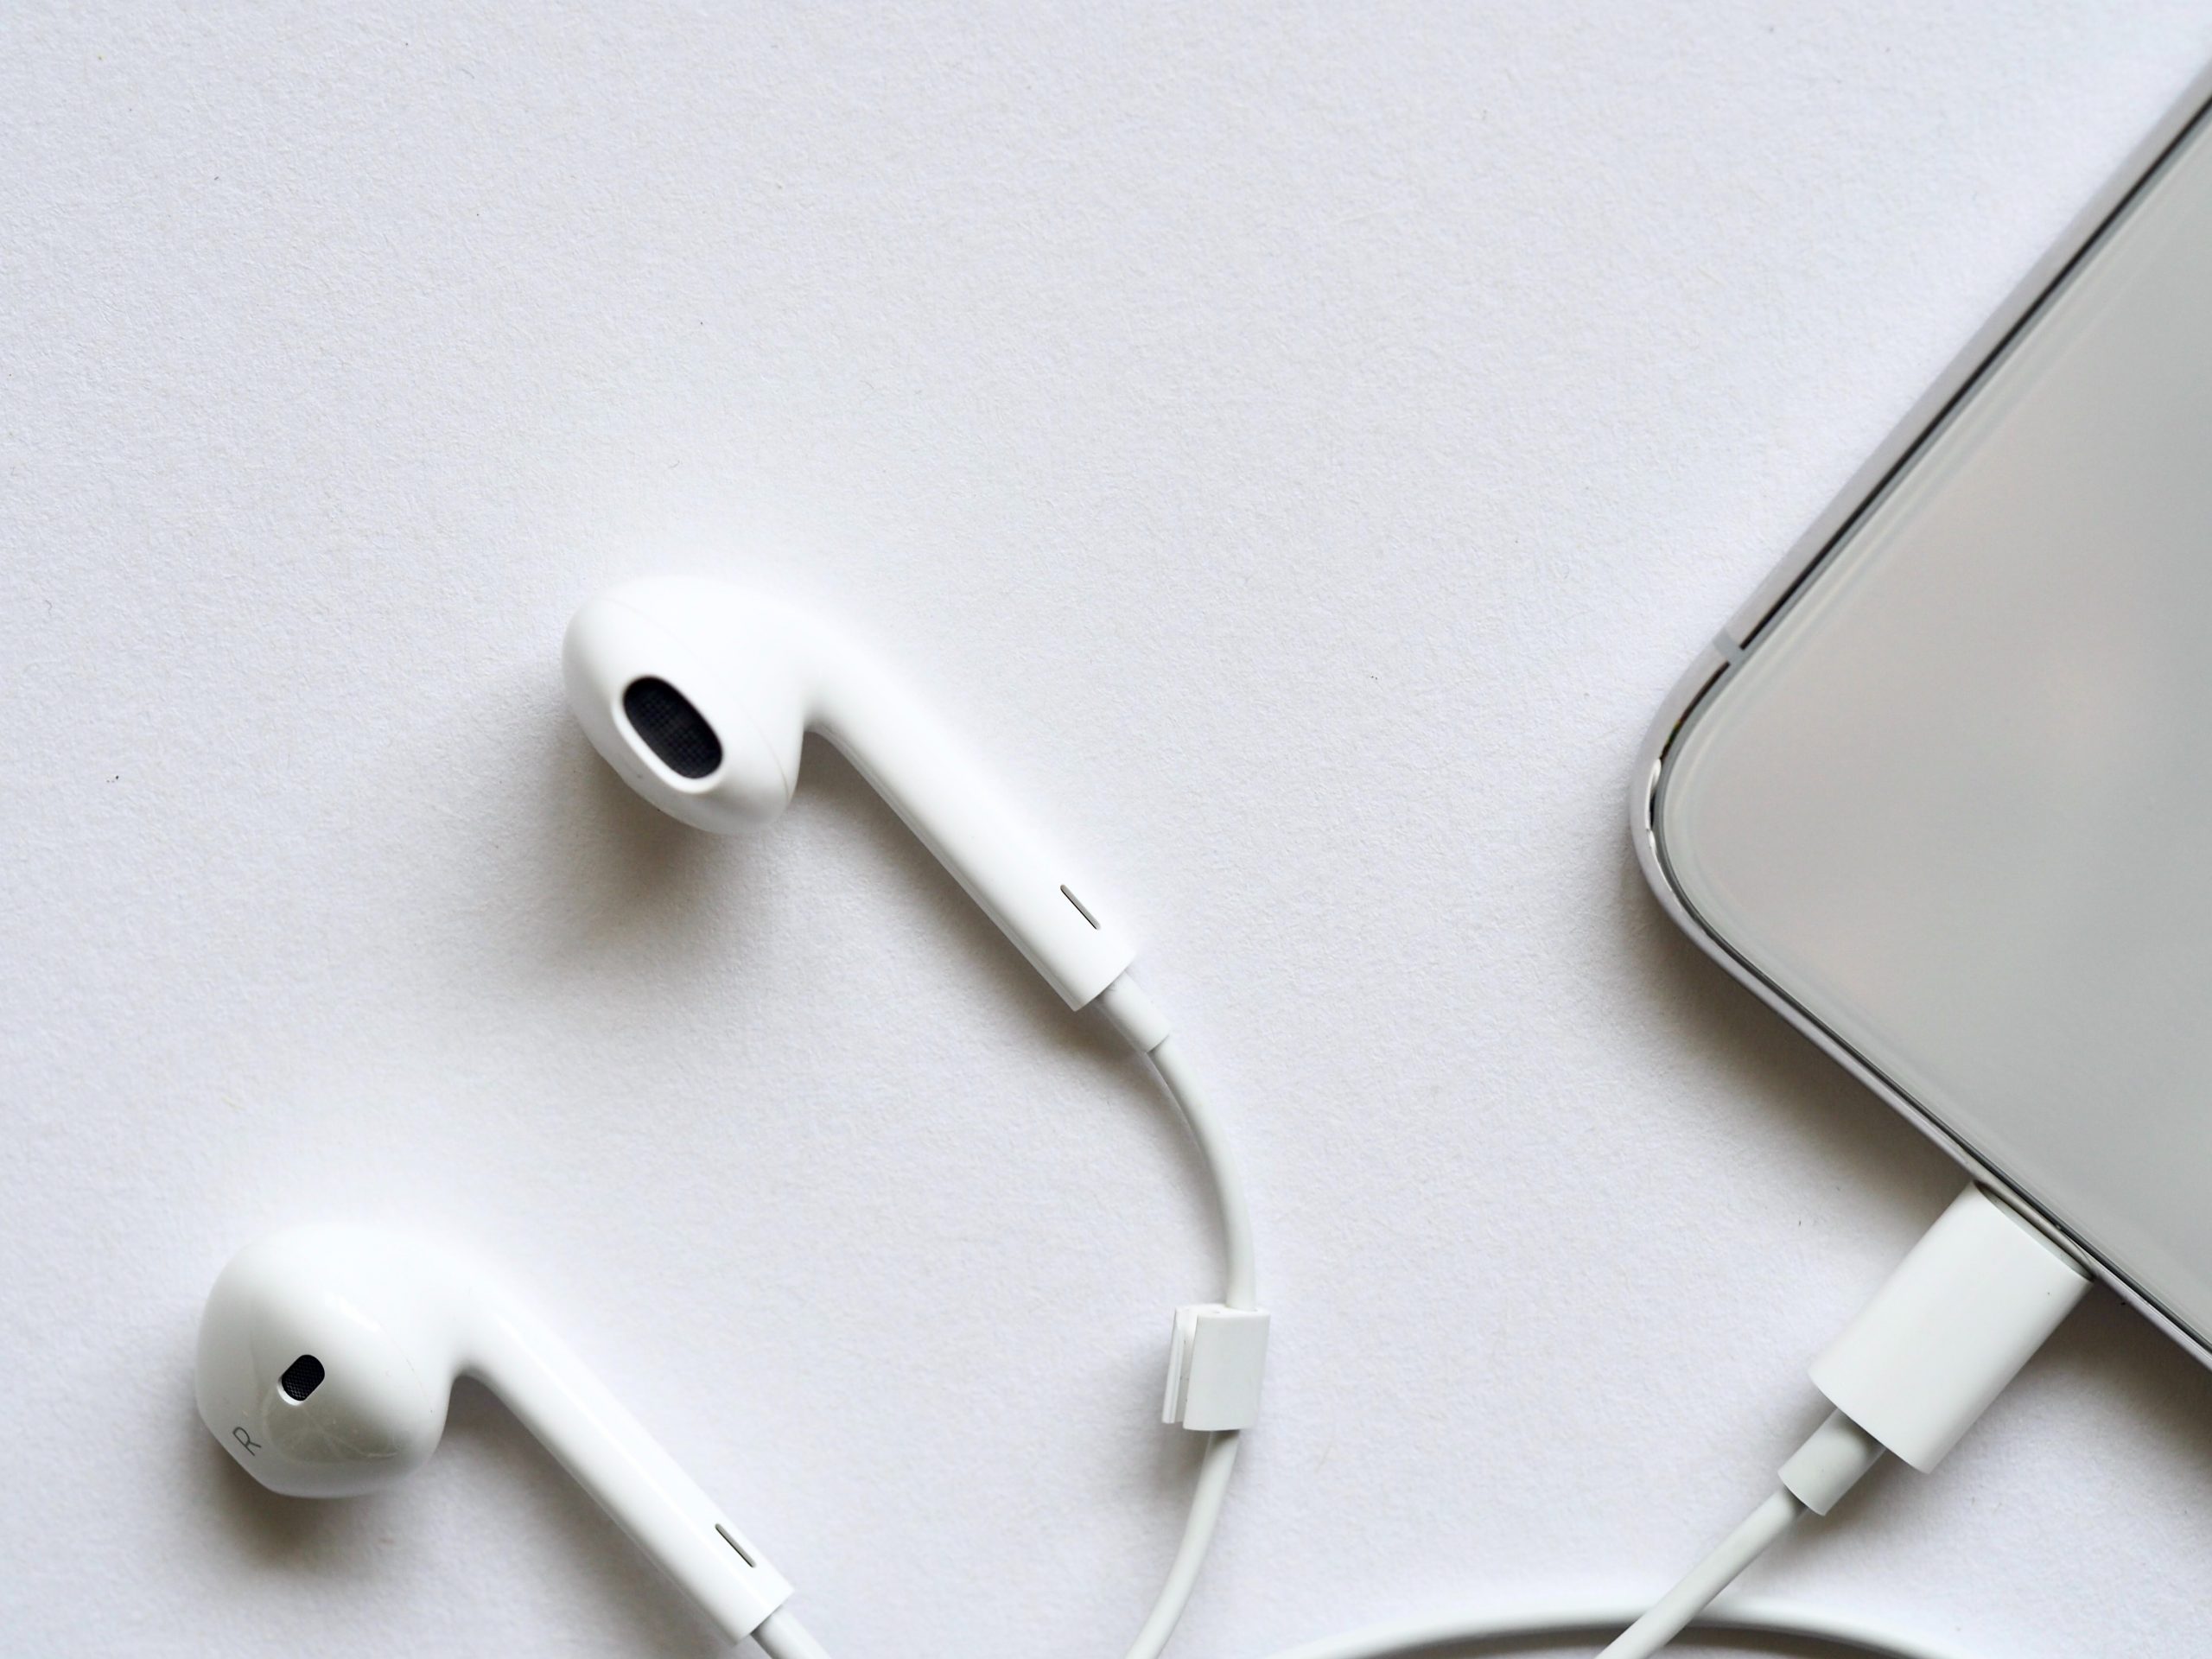
Most mobile phones come with headphones that have a microphone built-in to them. These microphones are much higher quality than the phone’s actual microphone. Use that microphone!
Have your subject take the headphone cable, and run it up underneath their shirt. Bring the microphone part just outside of their shirt, by their collar so that it barely pokes out—not visible on camera. Plug the cable into their phone and start recording a voice memo on that phone. The microphone’s going to pick up the voice, the audio will be recorded to the phone, and you can sync that audio to the video you recorded on the other smartphone using free editing software (like Davinci Resolve).
Work Smarter
These things are likely already at your disposal. You probably already have the bare minimum of tools to help you create better videos—and these tips should help! You don’t need to spend extra money purchasing new gear to produce videos. Use the resources you have—think it through, and your videos will turn out much better.

